Guide Install and Using Emulator Nintendo NES on PC Laptop
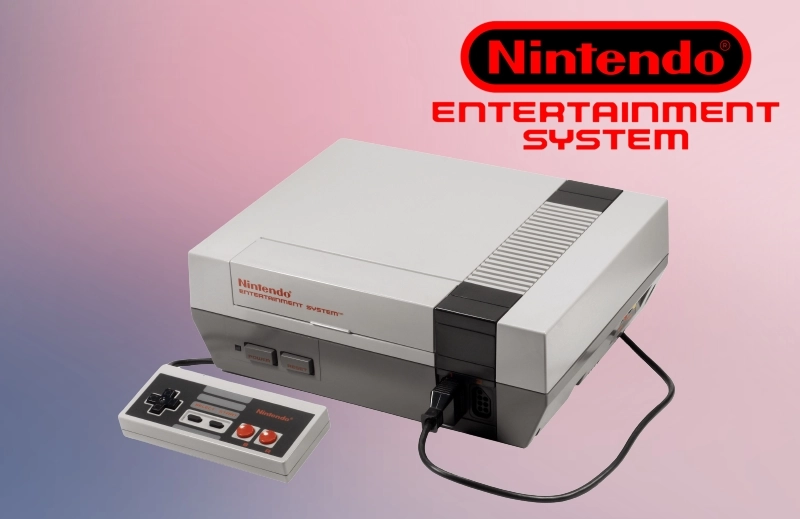
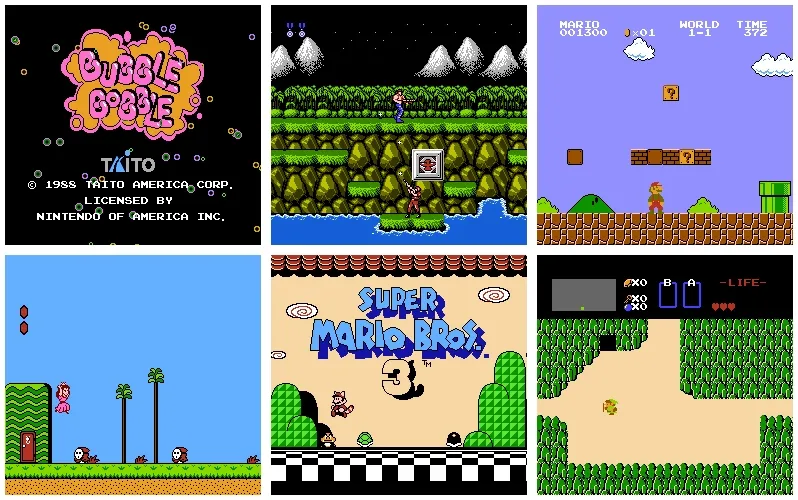
Step into a world of retro gaming with the Nintendo NES emulator, a gateway to the golden era of 8-bit gaming that continues to captivate players of all ages. The Nintendo Entertainment System (NES) holds a special place in gaming history, known for its iconic games and pioneering hardware. Thanks to NES emulators, gamers can now relive the magic of these classic titles on their computers, smartphones, and other modern devices. The NES, released in the 1980s, revolutionized the gaming industry and introduced a generation to unforgettable adventures and timeless characters. With classics like Super Mario Bros., The Legend of Zelda, and Metroid, the NES boasted a diverse library that captured the hearts of millions. NES emulators faithfully replicate the NES hardware, allowing players to experience these treasured games as they were originally intended.

Using a Nintendo NES emulator is a simple process that opens up a world of gaming possibilities. Start by downloading a reliable NES emulator compatible with your device’s operating system. Popular options include FCEUX, Nestopia, and RetroArch. Once installed, locate NES ROM files, which are the game files in the format recognized by the emulator. These ROM files can be found from reputable sources or, if you own the original NES cartridges, you can create your own ROM backups using specialized hardware. Whether you’re a nostalgic gamer looking to relive your childhood or a curious enthusiast seeking to explore gaming history, the Nintendo NES emulator offers a convenient and immersive way to experience the magic of 8-bit gaming. Strap on your virtual boots, grab your trusty controller, and get ready to embark on pixelated adventures that have stood the test of time. The Nintendo NES emulator is your ticket to rekindling the joy and excitement of gaming’s early days.
About Emulator Nintendo NES
Before you install the Emulator Nintendo NES, you should first check the required specifications, because if it is not adequate, it can lag and even hang.
✽ Minimum Specifications Windows
Operating System: Windows Xp, Windows Vista, Windows 7, Windows 8.1, Windows 10, Windows 11
Processor: Intel Core 2 Duo 1.2 GHz or AMD Athlon 64 X2 2.0 GHz
CPU Type: 32bit (86bit) or 64bit
Memory RAM: 256 MB RAM
Graphics: NVIDIA GeForce or ATI Radeon X1300
Hard Drive: 100 MB available space
✽ Minimum Specifications Mac OS
Operating System: Apple MacOS, Mavericks, Yosemite, El Capitan, Sierra / High Sierra, Mojave, Catalina, Big Sur, Monterey
CPU Type : 32/64-bit(Intel Core Duo CPU, 2GHz or faster recommended)
Memory: 256 MB RAM
Disk Space : 50 MB Free Disk Space
✽ Minimum Specifications Linux
Operating System: Mint, Ubuntu, MX, Fedora, Debian, Elementary, Zorin, Kali, CentOS, Manjaro, Pop, Solus, Deepin
CPU Type : 32/64-bit(Intel Core Duo CPU, 2GHz or faster recommended)
Memory: 256 MB RAM
Disk Space : 100 MB
✽ Minimum Specifications Android/iOs
Memory RAM: 512 MB RAM
Memory ROM : 100 MB
You can use the Scan feature “Can you run it” to find out whether your device can or not install Nintendo N64. It’s quite light because with 512 MB of RAM, you can run the emulator and play N64 games.
Tutorial Install Emulator
To use the Nestopia UE emulator and play Nintendo NES games on your computer, follow these steps:
- Download Nestopia UE: Visit a reliable source or the official Nestopia UE website to download the emulator. Ensure that you download the version compatible with your operating system (Windows, macOS, or Linux).
- Obtain NES ROMs: Find NES game ROMs from legitimate sources. Remember that downloading ROMs for games you don’t own is generally considered piracy and is illegal in many jurisdictions. Only use ROMs for games that you have legal access to.
- Launch Nestopia UE: Once you have downloaded and installed Nestopia UE, launch the emulator on your computer.
- Configure Input and Controls: When you open Nestopia UE, you’ll need to configure the input settings. Click on “Input” in the top menu bar and choose “Input Configuration” from the dropdown menu. Here, you can set up your keyboard or gamepad controls by selecting the corresponding options.
- Load a NES ROM: To load a NES game, click on “File” in the menu bar and choose “Open ROM” or use the keyboard shortcut Ctrl+O. Locate the NES ROM file you want to play and select it. Nestopia UE supports various ROM file formats such as .nes.
- Adjust Settings (Optional): Nestopia UE allows you to customize various settings to enhance your gaming experience. Click on “Options” in the menu bar and explore options like video settings, audio settings, and input configuration to suit your preferences. You can also configure save state slots, controller settings, and other advanced options.
- Play the Game: Once you have loaded a ROM and made any desired adjustments, the game should start automatically. You can now enjoy playing Nintendo NES games on the Nestopia UE emulator. Use your configured controls to navigate, play, and save your progress.
- Additional Features: Nestopia UE offers additional features such as save states, cheat code support, and video filters. You can access these features through the various menu options or keyboard shortcuts specified in the emulator’s documentation.

As an emulator, running Dolphin on PC will provide better performance compared to the original N64 hardware. But the good news is that these consoles are now very old, and the new computer hardware is very powerful, so games can generally run at full speed without any problems. If you’re using an older or cheaper PC, you’ll probably only be able to play games at 480p native resolution, but a gaming PC should be able to render N64 games at 60 frames per second at 1080p, or even 4K — and they look fantastic.
7 Best Nintendo NES Emulators
If you’re eager to dive into the world of Nintendo NES emulation, here are six of the best emulators available that will let you experience the golden age of 8-bit gaming:
- FCEUX: FCEUX is a highly regarded NES emulator that offers an array of features, including save states, cheat code support, video and audio recording, and debugging tools. It’s compatible with various platforms, including Windows, macOS, and Linux.
- Nestopia UE: Nestopia UE (Undead Edition) is a popular NES emulator known for its accuracy and compatibility. It provides a user-friendly interface, save state functionality, support for cheat codes, and customizable video and audio settings. Nestopia UE is available for Windows, macOS, and Linux.
- Mesen: Mesen is a powerful NES emulator that focuses on accuracy and performance. It offers a robust set of features, such as save states, cheat codes, netplay support, video filters, and recording capabilities. Mesen is available for Windows.
- RetroArch: RetroArch is a multi-platform emulator that supports various gaming systems, including the NES. It provides a unified interface and numerous features, including save states, shaders, netplay, and more. RetroArch is available for Windows, macOS, Linux, Android, iOS, and more.
- NESTicle: NESTicle is a classic NES emulator that has been around for years. It offers a simple and straightforward user interface, save state support, and basic customization options. NESTicle is primarily available for Windows.
- Jnes: Jnes is a user-friendly NES emulator that aims to replicate the NES gaming experience accurately. It features save state functionality, gamepad support, video filters, and customizable controls. Jnes is available for Windows.
These six NES emulators offer different features and compatibility options, allowing you to choose the one that suits your preferences and platform of choice. Whether you’re reliving cherished memories or exploring NES classics for the first time, these emulators will provide an authentic and enjoyable gaming experience that will transport you back to the 8-bit era.
Nintendo NES File Formats
When it comes to Nintendo NES file formats, there are a few common ones associated with games and game-related data. Here are some of the notable file formats associated with the NES:
- NES ROM (Read-Only Memory): The NES ROM file format contains the game data and code for a specific NES game. These files usually have the extension “.nes” and can be run on NES emulators or loaded onto flash cartridges for use on original NES hardware.
- Save States: Save states are files that allow players to save their progress in a game at any point and load it later. These files typically have custom extensions depending on the emulator being used and can be shared between users to let them start from specific points in a game.
- NES ROM Hacks: NES ROM hacks are modified versions of NES games created by the gaming community. These hacks can alter game code, graphics, levels, or other elements. They often use the same .nes file format as original NES games but with modifications applied.
- NSF (NES Sound Format): NSF files contain the music and sound data for NES games. They capture the music produced by the NES’s 2A03 sound chip. NSF files can be played back on compatible players or converted to other audio formats.
- IPS (International Patching System): IPS files are patch files used to modify or patch NES ROMs. They contain the changes necessary to alter the game code, graphics, or other aspects of the original ROM. IPS files are typically applied using specialized patching software to create a modified version of a game.
These are some of the primary file formats associated with the Nintendo NES and its emulation scene. They enable players to experience classic NES games, customize gameplay, and share their progress or modifications with others.

